Summer celebrations are all about bright colors, cool treats, and relaxed time with the people you like being around. An ice cream party brings all three together without much effort. A colorful sundae bar and a few simple table decorations can turn an ordinary backyard get-together into something guests actually remember.
Whether you keep things low-key or go all out with themed invitations, toppings, and party favors, the appeal is the same everyone gets to build their own dessert, which makes it fun for kids and adults at the same time.
Pick a Color Palette First


7
Pick a Color Palette First
Start with colors that feel cheerful and summery. Pastel pink, mint green, baby blue, lavender, cream, and soft yellow work well together and set the tone before you’ve even set up the food.
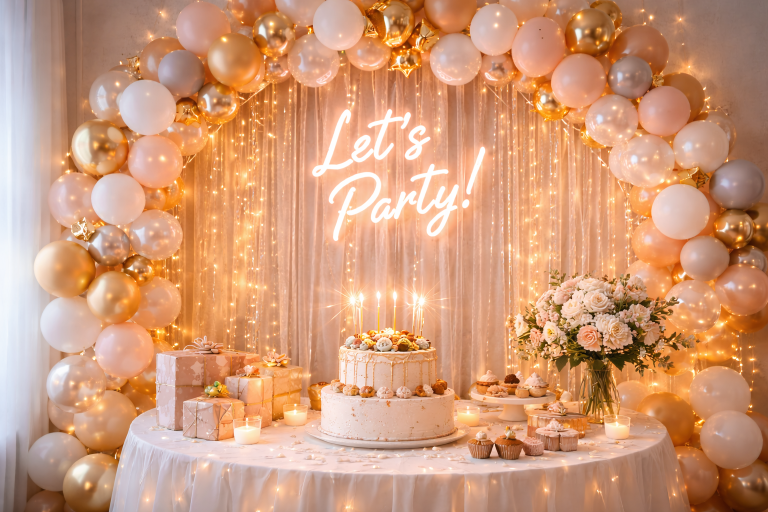
For a kid’s birthday party, lean brighter pink, turquoise, yellow, orange. For a more grown-up gathering, cream, blush, soft peach, and gold read as more refined. Whatever you choose, carry it through the balloons, napkins, plates, cups, tablecloth, and invitations. Repeating the same two or th
Set Up an Ice Cream Bar


8
This is the part guests will actually gather around, so give it some space. Offer a handful of flavors vanilla, chocolate, strawberry, mint chocolate chip, cookies and cream, and mango cover most preferences. Since it’s summer, throw in at least one fruit-forward option like lemon, raspberry, peach, or passion fruit.
Use small clear bowls for toppings so people can see what’s in them, and keep a spoon next to each one. A simple sign that says “Build Your Dream Sundae” does more than you’d expect it signals that the station was planned, not thrown together last minute.
Give the Toppings Station Some Range


7
The toppings are really what make the bar feel exciting, so don’t skimp on variety. Rainbow sprinkles, chocolate chips, crushed cookies, mini marshmallows, chopped nuts, coconut, gummy candies, and chocolate shavings cover the classics.
Fresh fruit adds color and balances out the sugar strawberries, blueberries, raspberries, banana slices, peaches, mango, and cherries all work. Finish with a few sauces: chocolate, caramel, strawberry syrup, and whipped cream. If kids with allergies will be there, keep those toppings clearly separated from the rest.
Make the Table Look Intentional


8
You don’t need anything elaborate here. A pastel tablecloth, a couple of cake stands, some glass jars, and a few small decorative touches go a long way. Put the ice cream containers toward the back and the toppings up front so people can reach them without leaning over the tubs.
Varying height helps too set a few bowls on cake stands or small wooden boxes instead of laying everything flat. Small labels (“Chocolate,” “Strawberry,” “Rainbow Sprinkles”) make the station easier to use and give it a slightly more finished look. A small vase of fresh flowers in your chosen colors rounds things off.
Use Ice Cream Cones as Decor, Not Just Dessert


8
Paper ice cream cones and colorful paper “scoops” can be strung into a simple garland and hung behind the dessert table or across a wall it’s an easy DIY that photographs well. For something bigger, oversized cardboard cones near the entrance make a fun, low-cost photo spot. If it’s a kid’s birthday, an ice cream-shaped balloon arrangement adds one more playful touch without much extra work.
Add a Backdrop for Photos


7
Give guests somewhere to take a picture. A pastel balloon arch, a few ice cream cone cutouts, some paper fans, and a simple sign are enough. Something like “Sweet Summer Memories” or “Life Is Better With Ice Cream” works fine as a backdrop caption nothing fancy needed.